

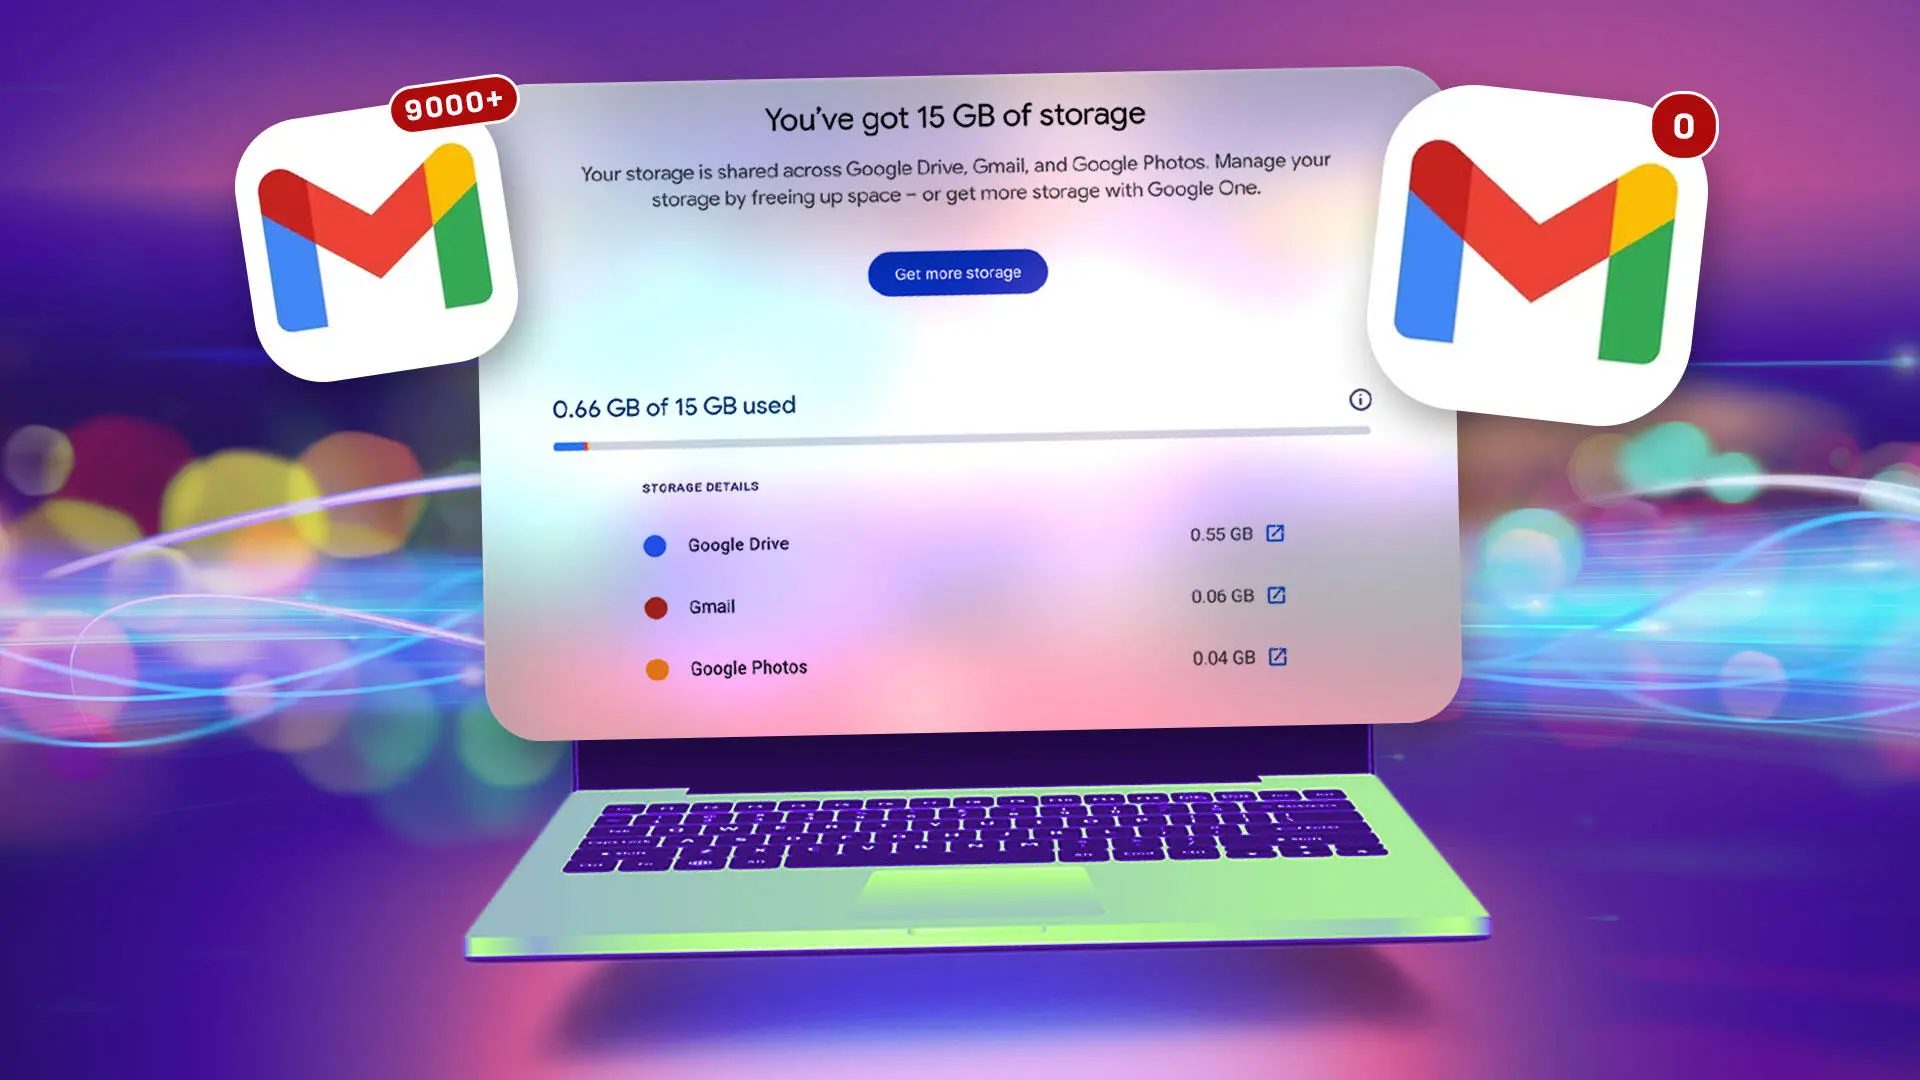
It's time to do something about your full Gmail inbox. If you've been hoarding thousands of messages in your email account, it's only natural that you'd balk at spending a day or two sifting through all the clutter. Fortunately, there's an easy solution — though you'll want to take advantage of it ASAP.
Think of it as moving your old junk from a cramped apartment to a free storage unit across town. You can set up a second, dedicated 'archive' account and use Gmail's built-in POP3 tools to automatically pull every old message from your primary inbox into the new one. Once the transfer is done, you can wipe your main account clean.
However, you should probably transfer your Gmail messages sooner rather than later: Google is planning to end POP3 support this year. New users lost access to POP3 in the first quarter of 2026, but current users are still able to take advantage of the protocol until it's turned off later this year. If you're tired of getting those 'storage full' warnings every time someone sends you a photo, this is the ultimate loophole. You get a fresh start and a massive storage upgrade for zero dollars. Here's how to link your accounts and offload your digital baggage.
How much data can you store on Gmail?
Fifteen gigabytes of free storage may sound like a lot when you make a Gmail account, but it gets filled up quickly. For starters, the 15GB isn't just used for email: It also includes the files you've saved in your Google Drive and Google Photos. If you frequently send or receive messages that contain large files, such as videos, or if you find yourself uploading a lot of pictures and videos to your Google Photos, then it won't be long before you'll see the 'Account storage is full' notification. This means that you will no longer be able to send or receive emails on the account, so you'll want to take action immediately.
The quickest solution is to upgrade to a Google One account. Even if you choose the least expensive plan — 100GB for $20 a year — you'll still end up paying money to store old emails that you might not even need anymore. If you don't want to buy more storage, you can always delete your old emails. You can get back a surprising amount of storage space by putting large files in the trash. Gmail makes it easy for you to identify and delete files by size. Even so, that option might seem tedious; maybe you don't want to spend hours sifting through correspondence from a decade or more ago, deciding which memories to keep and which to get rid of forever. There's always the option to download large files to your desktop before you delete them from your Google account, but at some point you'll probably run into the same issue with your local files and have to manage the storage space on your device. This brings us to the 'nuclear option': Transferring all your emails to a new Gmail account.
How to transfer your Gmail messages to a new email account
Before you start the Gmail transfer process, it's recommended that you back up your emails. You can do this by downloading your emails either to your computer or an external hard drive. You can delete the backup after you finish transferring the emails to your new account if you like, but it's always a good idea to have an extra copy stored locally. To back up your Gmail messages, go to Google Takeout. Using a test Gmail account that held about 75,000 messages, a download from Google Takeout is received in about 2 hours. Once you've saved a copy of your emails, you're ready to begin transferring them.
Step 1: Start by logging into your original Gmail account, clicking the gear icon in the top right, and clicking 'See all settings'.
Step 2: Select the 'Forwarding POP/IMAP' tab and then select the option 'Enable POP for all mail' (POP stands for Post Office Protocol).
Step 3: You'll have several options under 'When messages are accessed with POP'. To automatically delete the emails from your original account after the transfer, select 'delete Gmail's copy'.
Step 4: Select 'Save Changes'. Now it's time to create your new account and transfer all your messages there. If you haven't already done so, create your brand new, inbox-zero Gmail account — we'll call this your archive account.
Step 5: Log in to your new archive account, click the gear icon at the top, and select 'See all settings'.
Step 6: Select the 'Accounts and Import' tab at the top, then select 'Add a mail account' next to 'Check mail from other accounts'.
Step 7: In the pop-up window, enter the name of your original Gmail account. Select 'Next'.
Step 8: Select 'Import emails from my other account (POP3)' and select 'Next' again.
Step 9: Enter the password of your original Gmail account. You might also be required to create a Google app password (see note below).
Step 10: Select 995 under Port.
Step 11: Check these 3 boxes: 'Always use a secure connection (SSL) when retrieving mail', 'Label incoming messages', and 'Archive incoming messages (Skip the Inbox)'.
Step 12: Select 'Add Account'.
Step 13: Select 'Yes, I want to be able to send mail as [your original Gmail address]'. You can close out of the pop-up window after this step.
You'll probably need to create a Google app password to transfer Gmail messages
Testing this Gmail message transfer process multiple times, the standard password for the Gmail accounts did not work. After research, it became clear that a temporary 'app password' is needed to sync the accounts. Google app passwords are 16-digit passcodes created for 'less secure' apps or devices to access your Google account. They work exactly like your Google password. If your regular Google password doesn't work for syncing Gmail accounts, visit https://myaccount.google.com/apppasswords to create an app password (Note: You must have 2-Step Verification enabled). Simply create a name for the password — for example, 'Transfer Bulk Email' — and then hit the Create button. You'll get a pop-up window with your new 16-digit passcode. Once you've created the app password, return to step 9 of the instructions above and use that new app password instead of your usual password. Important: Google will only display your app password once. After you've created it, you can't ask to see it again, so be sure to write it down or otherwise record it. Google's own Help Center mentions that 'app passwords aren't recommended and are unnecessary in most cases.' So once you've completed transferring your Gmail messages, it's recommended to delete your app password.
What happens after my Gmail accounts are synced?
Once you've successfully linked your new Gmail archive account to your original account, your emails should begin to transfer automatically. The process could take several hours or days, depending on how many emails you have. In one test account with about 75,000 messages, it took Gmail about 2 full days to transfer all of them from the original account to the new archived mail account. Important: After transferring your Gmail messages to your archived mail account, your original Gmail account will place all those messages in the Trash folder, which you'll need to empty manually. Clearing out those 75,000 messages from the Trash took about an hour. Before transferring Gmail messages, a test account was using a little more than 12GB, or 80%, of Google's free 15GB. After transferring, the account was only using 0.66GB, of which 0.06GB was from Gmail.
What Gmail messages won't be transferred?
Gmail transfers all of your messages except for two categories — Drafts and Spam. You'll need to decide what to do with your Drafts manually. Spam messages are automatically deleted every 30 days, so you can let Gmail handle that or go into the Spam folder yourself after transferring your mail and delete or forward those messages. Once all of your emails have been imported to your new account, enjoy the experience of inbox zero. You've given your original account a new lease on life. At this point, there are two last steps: You'll want to stop the automatic transfer process so that you can continue using your original account, and you'll want to delete that app password if you had to make one.
Step 1: Login to your new account, go into your Settings, and select 'See all settings'.
Step 2: Select the 'Accounts and Import' tab, and then select 'delete' for your original account (under 'Check mail from other accounts').
Step 3: When prompted to 'Confirm delete mail account', select 'OK'. If you had to create a Google app password and want to delete it now, go back to https://myaccount.google.com/apppasswords and click the trashcan icon next to the password you created. One important final note: Google will delete accounts that have been inactive for more than two years. So make sure you don't ignore all your old emails after transferring them. If you don't plan to regularly use your archive account to send email, you can still keep the account active by signing in at least once every two years.
Source:CNET News